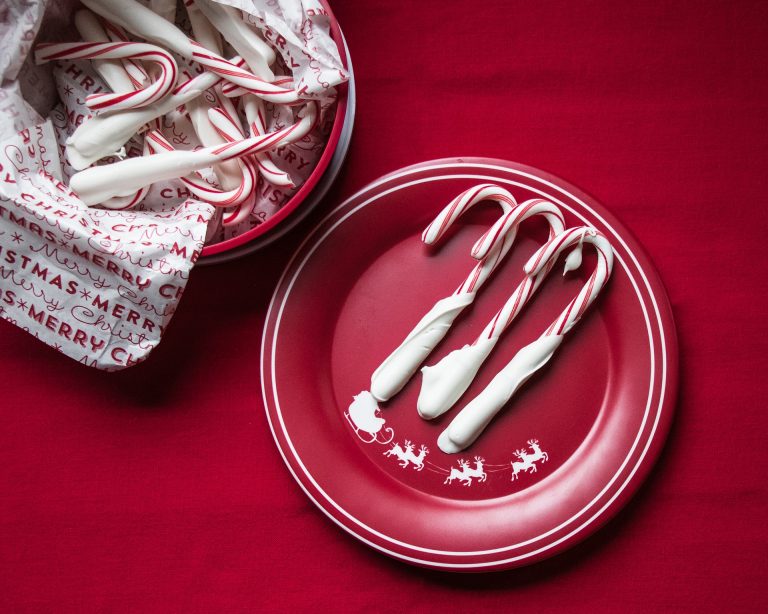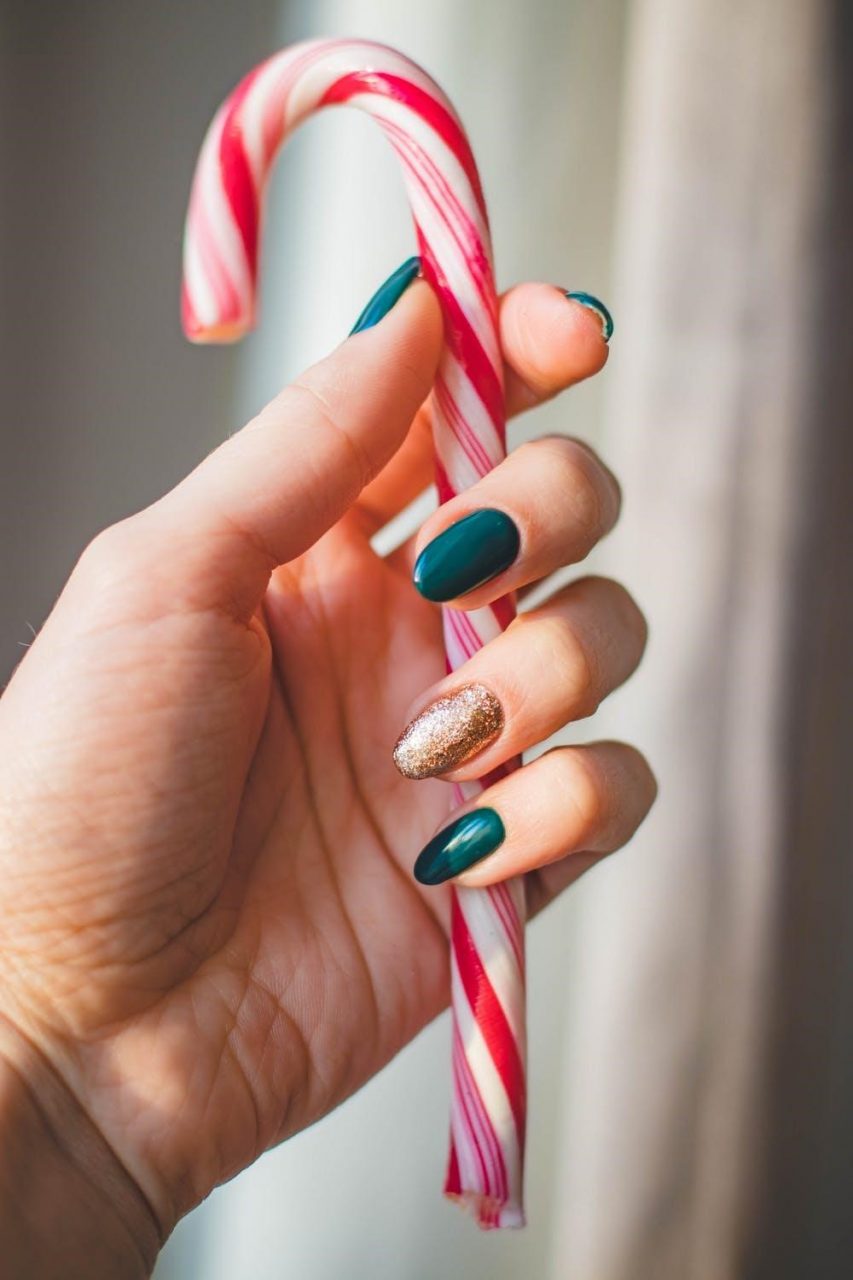
Why buy store-bought versions of your favorite holiday treat when you can make it with your own two hands!
Homemade Candy Canes
(thanks to www.allrecipes.com)

Ingredients
- 3 cups granulated sugar
- 1 cup light corn syrup
- 1/2 cup water, divided
- 1 1/2 teaspoons peppermint extract
- 1 teaspoon red gel food coloring
- Optional: 1 teaspoon white gel food coloring
Instructions
- Spray two rimmed baking sheets with nonstick cooking spray and set aside.
- Preheat the oven to 200 F.
- Combine the sugar, corn syrup, and 1/4 cup of the water in a medium saucepan over medium-high heat; stir with a heatproof spatula until the sugar dissolves.
- Wet a pastry brush in a small bowl filled with the remaining water. Using the wet brush, wash any sugar crystals off the side of the pan. Do not stir the syrup.
- When the syrup comes to a boil, insert a candy thermometer and continue to cook, without stirring, until the thermometer registers 285 F. At this point, the candy will have reached the soft-crack stage.
- Remove from heat. Let the bubbles subside, then stir in peppermint extract.
- Pour about half of the syrup onto prepared baking sheet and place it in the preheated oven.
- Stir red food coloring into the remaining syrup. If necessary, add more dye to achieve a vibrant shade.
- Pour the candy onto the remaining baking sheet and allow it to sit briefly until it forms a “skin.”
- Spray a bench scraper or metal spatula with nonstick cooking spray, and use the tool to “knead” the candy. Flatten the candy, then fold it back over itself. Repeat this process for 1 to 2 minutes, or until the candy is significantly cooler.
- Put on your heat resistant gloves. Stretch the candy into a long rope, then fold the rope in half and twist the candy until it melts back into itself.
- Repeat this process for 2 to 3 minutes, until the candy takes on an opaque color and a satiny finish. At this point, the candy will be warm—you should have some trouble pulling and folding it.
- Stretch the candy into a rope, about 2 inches in diameter, then return it to the oven, where it will stay warm and pliable.
- Remove the baking sheet from the oven. At this point, you can knead white food coloring into the candy.
- Pull and fold the candy in the same fashion, until it becomes opaque, glossy, and difficult to manipulate.
- Stretch it into a second log, about 2 inches in diameter.
- Remove the red candy from the oven. Cut a 2-inch segment from the white log and another from the red log, then put the remaining candy back in the oven.
- Squeeze the two segments together, until they form one two-toned log, then stretch the candy again. This step will determine the thickness of your candy canes—you can make thinner ones (with a 1/4-inch diameter) or thicker ones (with a 1/2-inch diameter).
- When you’re happy with the candy’s width, twist the rope to form those distinctive candy stripes.
- Using a pair of oiled kitchen shears, cut the candy into smaller pieces. Again, you can choose to make long or small candy canes. A 7-inch piece of candy will yield a medium-sized candy cane.
- Immediately form the hook at the top of the cane and place it on a clean surface to firm up at room temperature.
- Cut off another segment from each log, then return the logs to the oven. Repeat the twisting and stretching process until you have used up all the candy.
- If the candy cracks or hardens, return it to the warm oven for a few minutes. (Any longer than a few minutes and the candy will lose its shape.) At room temperature, your candy canes should be as hard as the store-bought variety.
- Be sure to wrap them in plastic wrap or cellophane to preserve their shelf life.

Tips from the recipe author
Make sure you have a calibrated clip-on candy thermometer before you begin this recipe. The thermometer will tell you when to take the sugar syrup off the stove—if yours is faulty or incorrectly calibrated, then you may undercook or overcook the syrup.
You should also invest in heat resistant gloves, which are available for purchase online. The gloves will protect your hands from the hot candy and the dye.
You may want to adjust the amount of peppermint extract in subsequent batches since peppermint extracts vary from brand to brand.